Raspberry Pi SSH Tunnel Proxy: A Comprehensive Guide
With the increasing demand for secure and private internet connections, Raspberry Pi SSH tunnel proxy has become a popular choice among tech enthusiasts and professionals alike. This powerful combination allows users to create a secure tunnel for their internet traffic, ensuring data privacy and protection against potential cyber threats. In this article, we will explore the ins and outs of setting up and utilizing Raspberry Pi as an SSH tunnel proxy.
As technology continues to evolve, so does the need for secure and reliable methods to protect our online activities. Whether you're a casual internet user or a professional handling sensitive data, understanding how to use Raspberry Pi SSH tunnel proxy can greatly enhance your cybersecurity measures. This guide will walk you through the process step-by-step, ensuring you have all the tools and knowledge necessary to implement this solution effectively.
By the end of this article, you'll have a solid understanding of Raspberry Pi SSH tunnel proxy, its benefits, and how to set it up. Let's dive in and discover how this versatile device can revolutionize your approach to internet security.
Read also:Exploring The Rare And Unique Phenomenon Of Albino Dravidians
Table of Contents
- Introduction to Raspberry Pi SSH Tunnel Proxy
- Raspberry Pi: An Overview
- Understanding SSH Tunnel Basics
- What is a Proxy?
- Setting Up Your Raspberry Pi
- Installing SSH on Raspberry Pi
- Configuring SSH Tunnel
- Setting Up Proxy Settings
- Testing Your Connection
- Security Best Practices
Introduction to Raspberry Pi SSH Tunnel Proxy
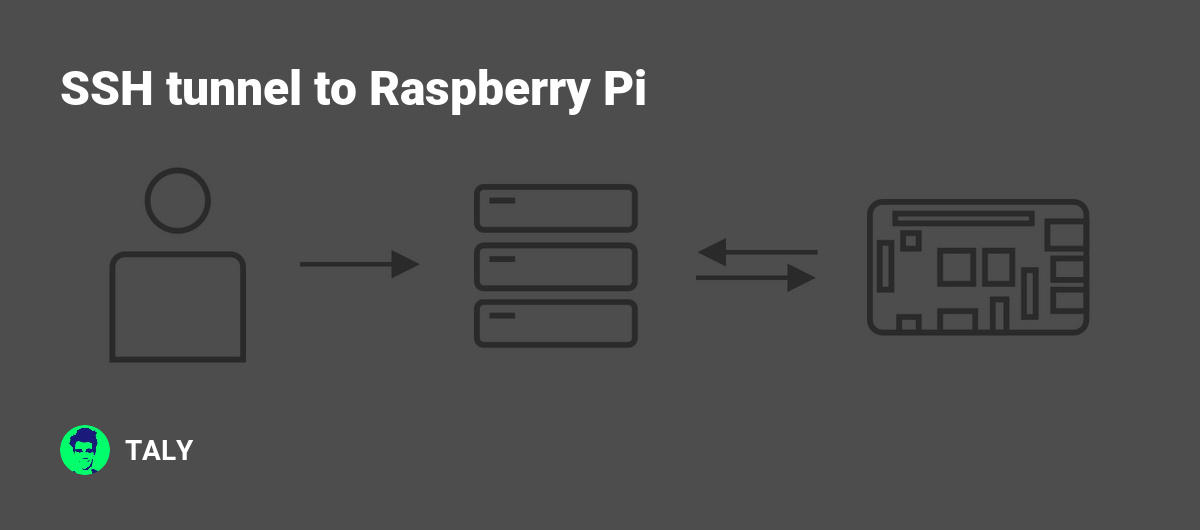
Raspberry Pi SSH tunnel proxy is a powerful combination that offers users a secure and private way to browse the internet. This setup involves using a Raspberry Pi device as a middleman to route your internet traffic through an encrypted SSH tunnel. By doing so, you can protect your data from prying eyes and potential cyber threats.
The Raspberry Pi, a small yet powerful single-board computer, is perfect for this task due to its affordability, energy efficiency, and versatility. When paired with SSH tunneling, it becomes an invaluable tool for anyone looking to enhance their online security. In this section, we'll delve deeper into the concept and its applications.
Why Choose Raspberry Pi?
Raspberry Pi has gained immense popularity among hobbyists and professionals alike due to its numerous advantages:
- Cost-effective solution for various projects
- Low power consumption, making it ideal for long-term use
- Extensive community support and readily available resources
Raspberry Pi: An Overview
Raspberry Pi is a series of small single-board computers developed by the Raspberry Pi Foundation. Initially designed to promote basic computer science education, it has since evolved into a versatile tool used in various applications, from home automation to advanced robotics.
There are several models of Raspberry Pi available, each catering to different needs and budgets. The most commonly used models for SSH tunnel proxy setups include the Raspberry Pi 4 and Raspberry Pi 3B+, both of which offer sufficient processing power and connectivity options for this purpose.
Key Features of Raspberry Pi
- ARM-based processor for efficient performance
- Multiple USB ports for peripheral connectivity
- Ethernet and Wi-Fi capabilities for network access
- HDMI output for connecting to monitors or TVs
Understanding SSH Tunnel Basics
SSH (Secure Shell) tunneling is a method of securely transferring data between a local computer and a remote server. By creating an encrypted tunnel, SSH ensures that all data passing through it remains private and protected from unauthorized access.
Read also:Bryci The Rising Star In The Music Industry
One of the primary uses of SSH tunneling is to bypass network restrictions and access blocked websites. Additionally, it can be employed to secure sensitive data transmissions, such as those involving financial or personal information.
How Does SSH Tunnel Work?
SSH tunnel works by establishing an encrypted connection between your local machine and a remote server. Once the connection is established, all data transmitted through the tunnel is encrypted, making it nearly impossible for third parties to intercept or decipher the information.
What is a Proxy?
A proxy server acts as an intermediary between your device and the internet. When you connect to a proxy server, your internet traffic is routed through it, masking your IP address and location. This can help you bypass geographical restrictions and access content that may otherwise be unavailable in your region.
There are several types of proxy servers, each with its own advantages and disadvantages. The most common types include HTTP proxies, SOCKS proxies, and transparent proxies. For Raspberry Pi SSH tunnel proxy setups, SSH-based proxies are often preferred due to their enhanced security features.
Setting Up Your Raspberry Pi
Before setting up Raspberry Pi SSH tunnel proxy, you'll need to ensure your Raspberry Pi is properly configured and ready for use. This involves installing the operating system, configuring network settings, and updating the system to the latest version.
For this guide, we recommend using Raspberry Pi OS, a lightweight and user-friendly operating system specifically designed for Raspberry Pi devices. You can download the latest version of Raspberry Pi OS from the official Raspberry Pi website and install it onto an SD card using the Raspberry Pi Imager tool.
Steps to Set Up Raspberry Pi
- Download Raspberry Pi OS and Raspberry Pi Imager
- Insert an SD card into your computer and use Raspberry Pi Imager to write the OS image onto it
- Insert the SD card into your Raspberry Pi and power it on
- Follow the on-screen instructions to complete the initial setup
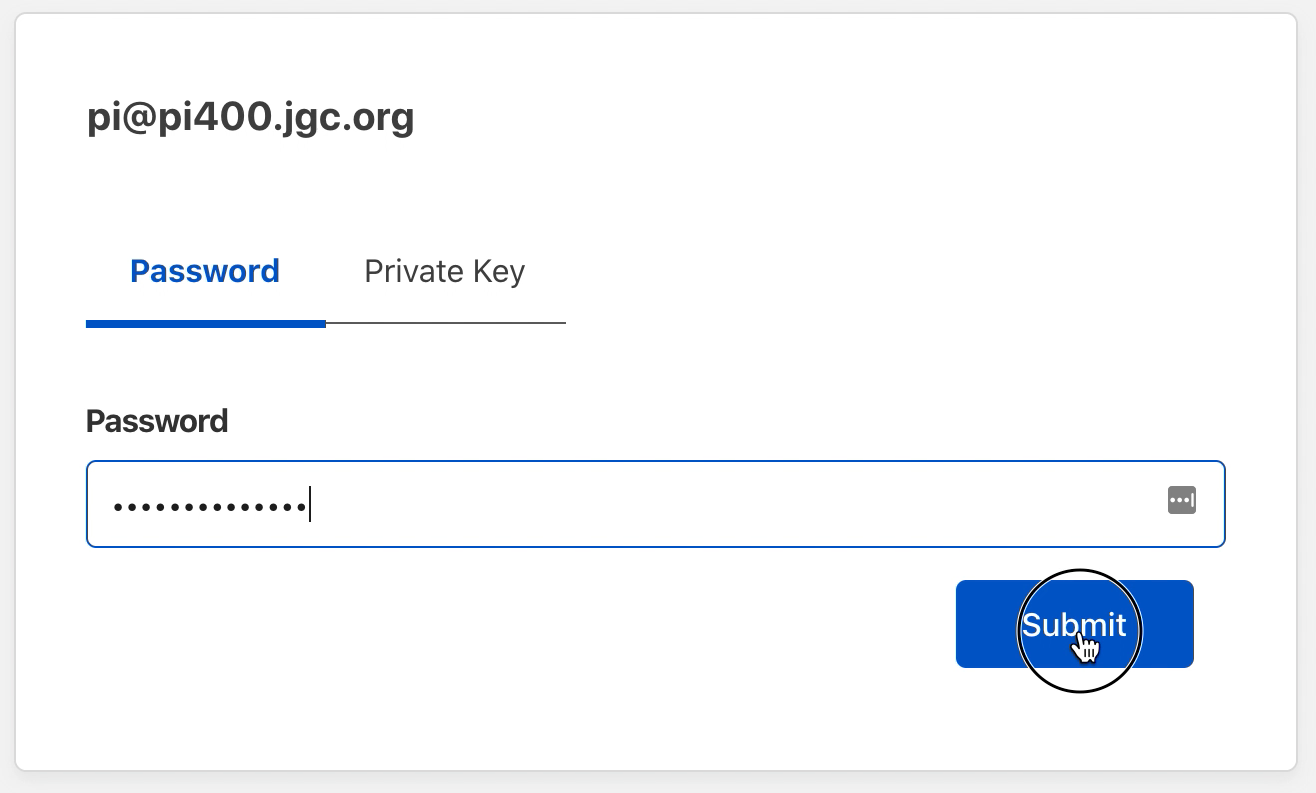
Installing SSH on Raspberry Pi
SSH comes pre-installed on Raspberry Pi OS, but it is disabled by default for security reasons. To enable SSH on your Raspberry Pi, follow these steps:
- Open the terminal on your Raspberry Pi
- Type the command
sudo raspi-configand press Enter - Select "Interfacing Options" and navigate to "SSH"
- Choose "Yes" to enable SSH and reboot your Raspberry Pi
Verifying SSH Installation
Once SSH is enabled, you can verify its status by running the command sudo service ssh status. This will display information about the SSH service, including whether it is active and running.
Configuring SSH Tunnel
With SSH installed and enabled, the next step is to configure the SSH tunnel. This involves setting up the necessary parameters to create a secure connection between your local machine and the Raspberry Pi.
There are two main types of SSH tunnels: local forwarding and remote forwarding. Local forwarding allows you to access a remote server's resources from your local machine, while remote forwarding enables the remote server to access your local machine's resources.
Setting Up Local Forwarding
To set up local forwarding, use the following command:
ssh -L [local_port]:[destination_host]:[destination_port] [username]@[raspberry_pi_ip]
Setting Up Proxy Settings
Once the SSH tunnel is configured, the final step is to set up proxy settings on your local machine. This involves configuring your web browser or operating system to route internet traffic through the SSH tunnel.
Most modern web browsers and operating systems allow you to specify proxy settings manually. Simply enter the Raspberry Pi's IP address and the designated port number into the appropriate fields, and your internet traffic will be routed through the SSH tunnel.
Testing Your Connection
After setting up the Raspberry Pi SSH tunnel proxy, it's essential to test the connection to ensure everything is working correctly. This can be done by visiting websites that display your IP address and location. If the displayed information matches your Raspberry Pi's IP address and location, the setup was successful.
Security Best Practices
While Raspberry Pi SSH tunnel proxy offers enhanced security, it's crucial to follow best practices to ensure maximum protection:
- Use strong, unique passwords for your Raspberry Pi and SSH connections
- Enable two-factor authentication whenever possible
- Regularly update your Raspberry Pi OS and installed software
- Monitor your Raspberry Pi's activity for any suspicious behavior
Conclusion
Raspberry Pi SSH tunnel proxy is a powerful tool for securing your internet connection and protecting your data from potential threats. By following the steps outlined in this guide, you can set up and utilize this combination effectively, ensuring your online activities remain private and secure.
We encourage you to share your thoughts and experiences in the comments section below. Additionally, feel free to explore other articles on our website for more tips and tricks on enhancing your cybersecurity measures. Together, let's build a safer and more secure digital world!
Source: Raspberry Pi Documentation
Dollar Coin 1979: A Comprehensive Guide To History, Value, And Collectibility
Snoop Dogg Net Worth: Exploring The Financial Empire Of A Music Legend
Kendrick Lamar Height: Unveiling The Truth Behind The Rapper's Stature
SSH tunnel to Raspberry Pi

How to Make an SSH Proxy Tunnel Tony Teaches Tech
Setting up raspberry pi ssh tunnel gateway wizhost
