Raspberry Pi As SSH Tunnel: The Ultimate Guide For Secure Connections
Using Raspberry Pi as an SSH tunnel has become increasingly popular among tech enthusiasts and cybersecurity professionals. This versatile device offers a cost-effective solution for creating secure connections, bypassing geo-restrictions, and enhancing privacy online. By leveraging the power of SSH tunneling, users can protect their data and maintain anonymity while browsing the internet.
Raspberry Pi, a single-board computer, has revolutionized the way we approach networking and security. With its compact size and affordability, it serves as an excellent platform for setting up an SSH tunnel. Whether you're a beginner or an advanced user, understanding how to configure Raspberry Pi for SSH tunneling is essential in today's digital age.
This comprehensive guide will walk you through the process of setting up Raspberry Pi as an SSH tunnel, including step-by-step instructions, best practices, and troubleshooting tips. By the end of this article, you'll have the knowledge and tools needed to create a secure and reliable SSH tunnel using Raspberry Pi.
Read also:Are Ateez On Weverse Exploring The Presence Of Ateez On Weverse And Their Fan Engagement
Table of Contents
- Introduction to Raspberry Pi SSH Tunnel
- Benefits of Using Raspberry Pi as SSH Tunnel
- Setting Up Raspberry Pi for SSH Tunnel
- Configuring SSH Tunnel on Raspberry Pi
- Enhancing Security of Your SSH Tunnel
- Optimizing Performance of Raspberry Pi SSH Tunnel
- Troubleshooting Common Issues
- Alternatives to Raspberry Pi SSH Tunnel
- Real-World Applications of Raspberry Pi SSH Tunnel
- Conclusion and Next Steps
Introduction to Raspberry Pi SSH Tunnel
What is Raspberry Pi?
Raspberry Pi is a small, affordable computer that can be used for various purposes, including serving as an SSH tunnel. Developed by the Raspberry Pi Foundation, this single-board computer has gained popularity due to its versatility and ease of use. It is widely used in educational settings, home automation projects, and networking solutions.
What is SSH Tunnel?
SSH tunneling is a method of transferring data securely over a network. It involves creating an encrypted connection between two devices, allowing users to bypass firewalls, geo-restrictions, and other network limitations. By using Raspberry Pi as an SSH tunnel, you can enhance your online privacy and security.
Why Use Raspberry Pi for SSH Tunnel?
There are several reasons why Raspberry Pi is an excellent choice for setting up an SSH tunnel:
- Cost-effective solution
- Compact and energy-efficient
- Highly customizable
- Supports a wide range of operating systems
Benefits of Using Raspberry Pi as SSH Tunnel
Security and Privacy
One of the primary advantages of using Raspberry Pi as an SSH tunnel is the enhanced security and privacy it provides. By encrypting your internet traffic, you can protect sensitive information from being intercepted by hackers or malicious actors.
Geo-Restriction Bypass
SSH tunneling allows users to bypass geo-restrictions and access content that may be unavailable in their region. This is particularly useful for streaming services, online gaming, and other geographically restricted platforms.
Remote Access
Raspberry Pi can also be used to access remote servers and devices securely. This is ideal for IT professionals who need to manage multiple systems from a single location.
Read also:Diaper Bois The Rise Of An Unlikely Fashion Trend
Setting Up Raspberry Pi for SSH Tunnel
Before diving into the configuration process, ensure you have the following items:
- Raspberry Pi (any model)
- MicroSD card with Raspberry Pi OS installed
- Power supply
- Keyboard and mouse (optional)
- Monitor or HDMI cable (optional)
- Network connection
Installing Raspberry Pi OS
Start by installing Raspberry Pi OS on your microSD card. You can download the latest version from the official Raspberry Pi website and use a tool like Balena Etcher to flash the image onto the card. Once the installation is complete, insert the microSD card into your Raspberry Pi and power it on.
Enabling SSH
SSH must be enabled on your Raspberry Pi for tunneling to work. You can enable SSH by adding an empty file named "ssh" to the boot partition of your microSD card. Alternatively, you can use the Raspberry Pi Configuration tool to enable SSH after booting the device.
Configuring SSH Tunnel on Raspberry Pi
Setting Up the SSH Client
Once SSH is enabled, you can configure the SSH client on your Raspberry Pi. Begin by updating the system using the following commands:
sudo apt update && sudo apt upgrade -y
Creating the SSH Tunnel
To create an SSH tunnel, use the following command:
ssh -D [local_port] -C -N -q -T [username]@[remote_server]
Replace [local_port] with the desired port number (e.g., 8080), [username] with your SSH username, and [remote_server] with the IP address or domain name of the remote server.
Testing the Connection
After setting up the SSH tunnel, test the connection by configuring your web browser to use the SOCKS proxy on the specified local port. You can verify the connection by checking your IP address on a website like WhatIsMyIP.com.
Enhancing Security of Your SSH Tunnel
Using Strong Passwords
Ensure that your SSH account uses a strong, unique password to prevent unauthorized access. Consider enabling two-factor authentication (2FA) for added security.
Configuring Firewall Rules
Set up firewall rules to restrict access to your Raspberry Pi SSH tunnel. Use tools like ufw (Uncomplicated Firewall) to define rules that only allow specific IP addresses or networks to connect to your device.
Updating Software Regularly
Keep your Raspberry Pi OS and all installed software up to date to protect against vulnerabilities and exploits. Regular updates ensure that your device remains secure and stable.
Optimizing Performance of Raspberry Pi SSH Tunnel
Choosing the Right Model
Select a Raspberry Pi model with sufficient processing power and memory to handle your SSH tunneling needs. The Raspberry Pi 4 is recommended for heavy workloads, while the Raspberry Pi Zero W may suffice for lightweight tasks.
Improving Network Speed
Use a wired Ethernet connection whenever possible to maximize network performance. If wireless connectivity is necessary, consider upgrading to a high-speed Wi-Fi adapter for better speeds and reliability.
Monitoring Resource Usage
Regularly monitor CPU, memory, and disk usage on your Raspberry Pi to ensure optimal performance. Tools like htop and Glances can provide real-time insights into system resources.
Troubleshooting Common Issues
Connection Problems
If you encounter connection issues, verify that SSH is enabled on your Raspberry Pi and that the correct credentials are being used. Check your firewall settings to ensure that the necessary ports are open.
Slow Performance
Slow performance may be caused by insufficient resources or network congestion. Consider upgrading your hardware or optimizing your network configuration to improve speeds.
Security Alerts
Address any security alerts promptly by updating your system and reviewing your firewall rules. Regularly audit your SSH tunnel setup to identify and resolve potential vulnerabilities.
Alternatives to Raspberry Pi SSH Tunnel
Other Single-Board Computers
Devices like the BeagleBone Black and Orange Pi offer similar functionality to Raspberry Pi for SSH tunneling. These alternatives may provide additional features or better performance depending on your specific needs.
Cloud-Based Solutions
Cloud-based SSH tunneling services can offer greater scalability and ease of use compared to hardware solutions. However, these services may come at a higher cost and may not provide the same level of control as a Raspberry Pi-based setup.
Real-World Applications of Raspberry Pi SSH Tunnel
Remote Work
Raspberry Pi SSH tunnels are commonly used by remote workers to access company resources securely. This setup allows employees to collaborate effectively while maintaining data privacy.
Education
In educational settings, Raspberry Pi SSH tunnels can be used to teach students about networking, cybersecurity, and encryption. Hands-on projects with Raspberry Pi help reinforce theoretical concepts and develop practical skills.
IoT and Home Automation
SSH tunnels on Raspberry Pi can enhance the security of IoT devices and home automation systems. By encrypting communication between devices, users can protect their smart homes from potential threats.
Conclusion and Next Steps
Raspberry Pi as an SSH tunnel provides a powerful, cost-effective solution for enhancing online security and privacy. By following the steps outlined in this guide, you can configure your Raspberry Pi for SSH tunneling and enjoy the benefits of secure, encrypted connections.
We encourage you to experiment with different configurations and explore the various applications of Raspberry Pi SSH tunnels. Leave a comment below to share your experiences or ask questions. Don't forget to subscribe to our newsletter for more articles on technology and cybersecurity!
For further reading, check out our other articles on Raspberry Pi projects, networking, and cybersecurity best practices.
Remy Ma Relationships: A Comprehensive Look Into Her Love Life And Connections
Miami Yearly Weather: A Comprehensive Guide To Sunshine And Rain
Genshin Furina Build: Mastering The Hydro Catalyst Expert
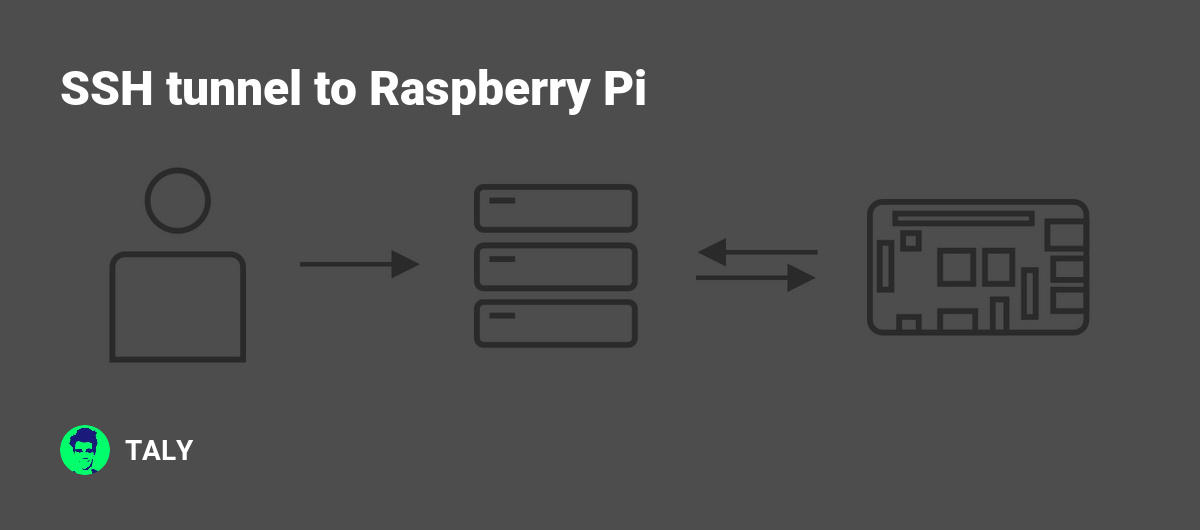
SSH tunnel to Raspberry Pi

How to Connect via SSH to a Raspberry Pi Tony Teaches Tech

Enable SSH on Your Raspberry Pi
